Rock Balance
Tutorials
Curious about how to balance a rock?
Let’s get started…
We start with this magic number 3, it’s a very important number when it comes to Rock Balancing.
But in general this number got some special characteristics, it’s exactly the right amount to define a flat surface or plane.
With the three primary colors red, yellow and blue you can mix (allmost) all other colores (which we can see).
We are all familiar with the expression “third time lucky”
The triangle, a polygon with three edges and three vertices, is the most stable physical shape.
For this reason it is widely utilized in construction, engineering and design.
If a object is placed on three contact points it’s always stable,
e.g. it’s impossible for a three legged table to wobble.
The last fact mekes it important for our mission.

First you need rocks, I think the best is go out into the green to a river or any other place you like to be,
which of course also provides you with the essential hardware.
Once you settle and have a sturdy (very important) base rock you start to look for indentations
(e.g. cracks) which are big fairly deep so its easier for the beginning.
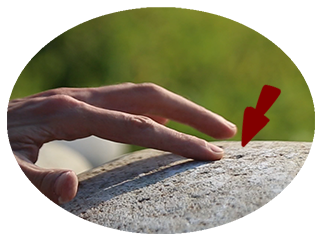
Place your rock of choice on a edge
and get a feel of its center in this position.
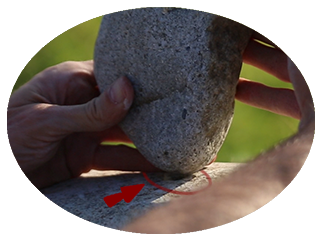
Do this by slowly moving it around
feel in which way gravity pulls more, if you feel it gently adjust it.
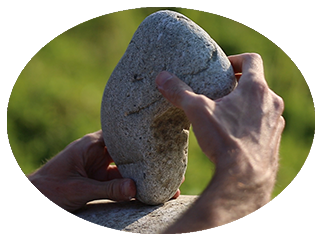
After you are having the rock almost at center I recommend to
use one hand at the top and the other one near the contact points for the detail work.
It can be a good way to make minor adjustments by pushing together your fingers near the contact point
till you have a tiny gab between the two,
it enables you to make small changes to find the contacts you are looking for.
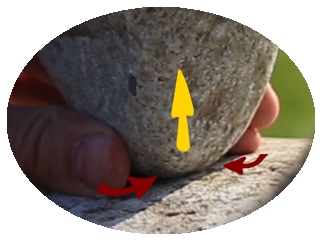
Now you start looking for your 3 contact points.
Carefully move the rock till you start to feel the first resistance.
You know when you found the second point if the rock moves only in two directions.
Now you need to find the third point to lean on.
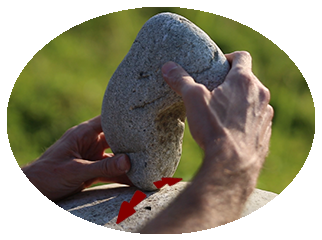
As soon as you feel all 3 points its almost done.
Last step is to let go of the rock with as little friction as possible.
… et voilà …
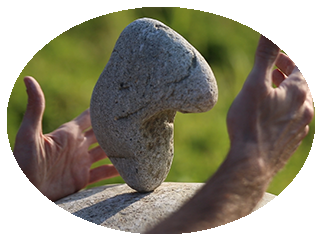
I wish you a great time while making your own experience,
keep in mind doing it for fun not for competition. Our world is already full of it.
To read more about The Art Of Rock Balancing check this article.
There are also 3 video tutorials I made for you
which deepens the insight into
that art form.
ENJOY…

“All things are difficult
before they become easy.”~ Saadi / سعدی
The Single Rock
This video tutorial is focusing on the first step and explains the essentials of Rock Balancing.
It’s mostly about what I explained above.
The Counterbalance
In this tutorial we level up and try on the counterbalance a set of rocks.
This will be way more challenging than balance a single rock.
You may wanna try first to balance a second rock straight up a balanced one before you move to this task.
The Arch
A basic arch is not to difficult to realize but the options to level this up are endless.
There are different systems of how to build them, with a wide range of severity.
How challenging its going to be also depends very much on the characteristic of the rocks you work with and on how daring your creativity will be.
I hope these tutorials inspire and benefit you.
Creating and maintaining this platform requires significant
effort and resources. If it has enriched your life, I would be
delighted if you’d share a coffee with me.

… or, what would make me even happier …
visit my shop and discover a creation that enriches your life
while supporting my work. I prefer this kind of exchange,
where you receive something tangible in return.

